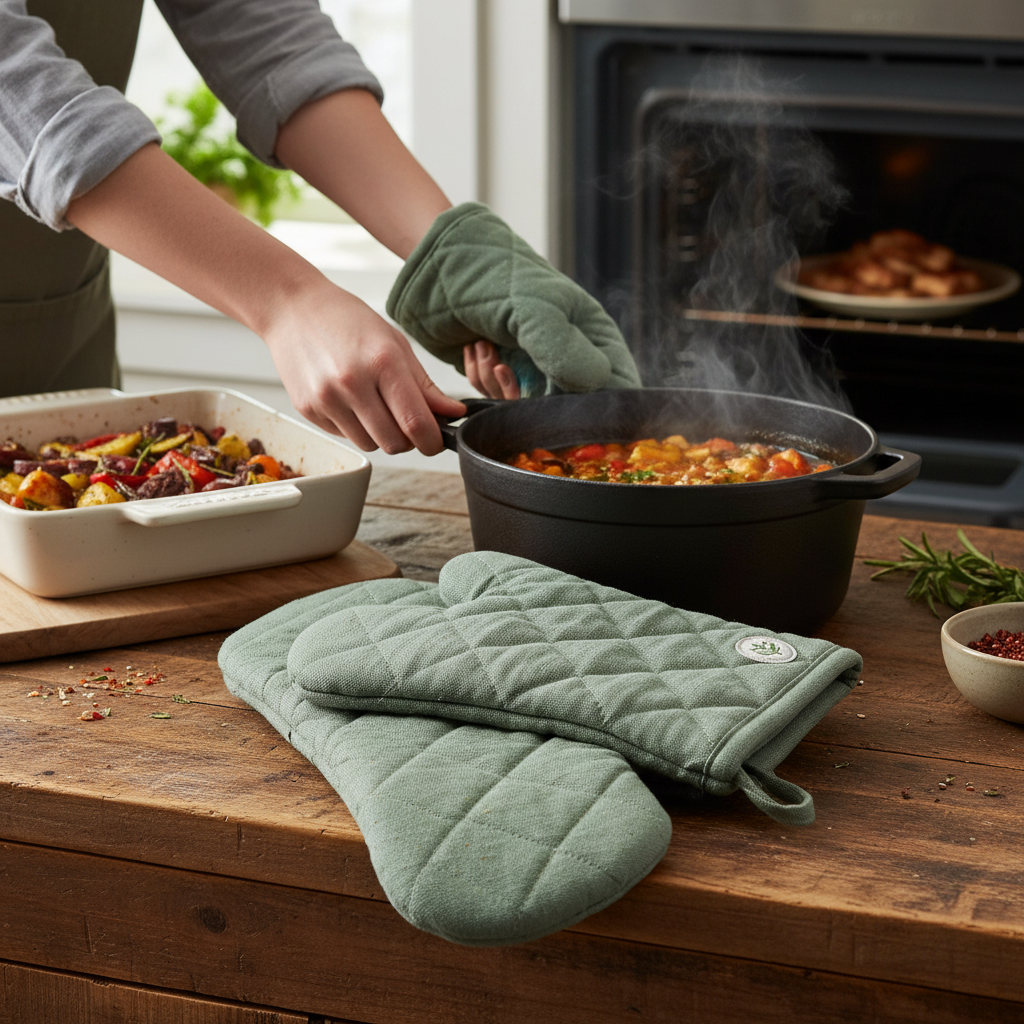
There’s a special bond we often form with our kitchen tools, and oven mitts are no exception. They protect our hands from scorching heat, becoming trusted companions through countless baking and cooking adventures. But what happens when your beloved oven mitt, a silent hero of your culinary endeavors, suffers a tear or burn? Don’t toss it just yet! With a few simple steps and the right materials, you can often mend your oven mitt, extending its lifespan and preserving its sentimental value. This guide will walk you through the process, ensuring your cherished mitt remains a safe and reliable partner in the kitchen.
Understanding Oven Mitt Damage: When to Repair, When to Replace
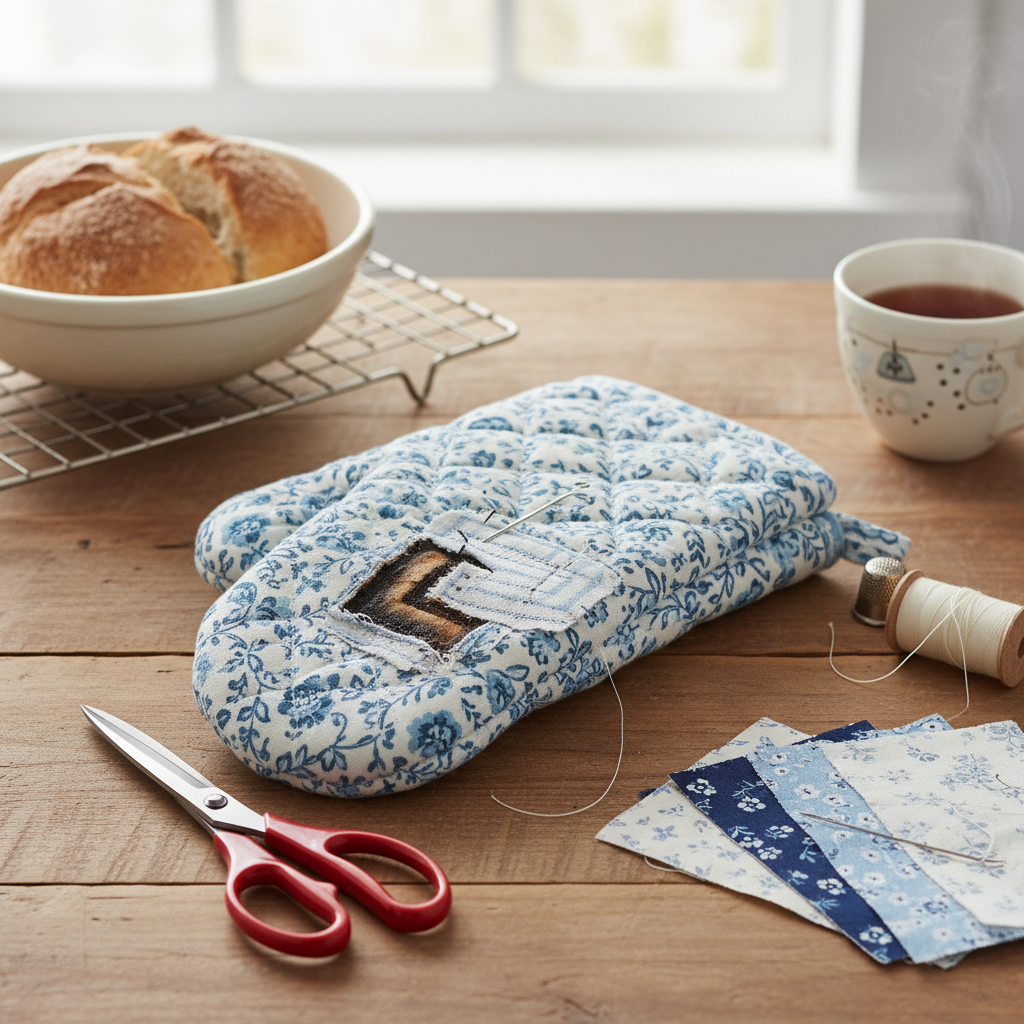
Before diving into repairs, it’s crucial to assess the damage. Not all tears are created equal, and safety should always be your top priority. Minor fraying, small holes in the fabric, or unraveling seams are typically good candidates for repair. These issues often compromise the outer layer without affecting the critical insulation underneath. However, if your mitt has a large, gaping hole that exposes the inner padding, or if the internal insulation itself feels thin, compressed, or burned through, it’s safer to consider replacement. Compromised insulation means reduced heat protection, putting your hands at risk.
Repairing your oven mitt isn’t just about saving money; it’s a sustainable choice that reduces waste and celebrates the tools that serve us well. It also offers a chance to add a personal touch, turning a simple repair into a unique customization.
“A well-loved oven mitt is a testament to countless meals and memories. Mending it extends its story, making it even more special.” – Sarah Jenkins, Home Economics Expert
Essential Tools and Materials for Your Oven Mitt Repair
Gathering the right supplies before you begin will make the repair process smooth and efficient. The good news is, you likely have most of these items around your home already.
- 100% Cotton Fabric Scraps: This is paramount. Any fabric used for patching must be 100% cotton, as synthetic materials like polyester or nylon can melt when exposed to high heat, posing a serious safety risk. Look for sturdy cotton, like denim or canvas scraps, if you have them.
- 100% Cotton Thread: Just like the fabric, your thread must be 100% cotton. Synthetic threads will melt and weaken the repair under heat.
- Sewing Needle: A sturdy hand-sewing needle will work for most repairs. If you have a sewing machine, it can make the job quicker, especially for larger patches or seam repairs.
- Sharp Scissors: For cleanly trimming frayed edges and cutting patches.
- Pins or Fabric Clips: To hold patches and seams in place while you sew.
- Iron (Optional): Helpful for pressing seams flat or adhering iron-on patches (though hand-sewing over iron-on patches is recommended for durability).
- Thimble (Optional): Protects your finger when hand-sewing through thick layers.
Step-by-Step Guide to Repairing Your Oven Mitt
The repair method will depend on the type and extent of the damage. Here are common scenarios and how to address them:
1. Mending Minor Tears or Fraying (Darning or Small Patch)
For small holes, thinning spots, or fraying edges that haven’t compromised the insulation significantly.
- Prepare the Area: Use sharp scissors to carefully trim any loose, frayed threads around the damaged area. This creates a clean edge to work with.
- For Darning (Best for smaller holes/thinning):
- Thread your 100% cotton needle.
- Work from the inside of the mitt if possible, or externally for visible mending.
- Stitch across the hole in one direction, creating parallel rows of stitches.
- Then, weave your needle through these stitches in the perpendicular direction, creating a strong, woven patch that fills the gap. This reinforces the weakened area.
- For a Small Patch (For slightly larger holes):
- Cut a small patch from your 100% cotton fabric. It should be slightly larger than the hole, overlapping the good fabric by about 1/2 to 1 inch on all sides.
- Turn the edges of the patch under by about 1/4 inch and press them flat with an iron (if using).
- Position the patch over the hole, ensuring it completely covers the damaged area. Pin it securely in place.
- Using 100% cotton thread, hand-stitch or machine-stitch the patch onto the mitt. A zigzag stitch on a machine can offer extra security, or use a whipstitch or running stitch by hand around all edges of the patch.
|
Our Picks for the Best Oven mitts in 2026
As an Amazon Associate I earn from qualifying purchases.
|
||
| Num | Product | Action |
|---|---|---|
| 1 | Oven Mitts and Pan Racks 4-Piece Set, Extended Kitchen Oven Mitts and Pan Racks, Heat Resistant 500 °F, Silicone Non-Slip Surface for Baking and Cooking (Black) |

|
| 2 | Hovico Silicone Oven Mitts, Heat Resistant 500F Kitchen Mitts 2PCS, 11.6" BPA-Free Soft Baking Gloves, Non-Slip Grip Oven Gloves with Soft Cotton Lining for Kitchen Cooking Baking BBQ - Black |
|
| 3 | Heat Resistant Gloves for Cooking Thickened Silicone Coating Cotton Liner Waterproof Food Grade Graffiti-Art Printing Medium |
|
| 4 | KitchenAid Gingham Oven Mitt 2-Pack Set, Milkshake, 7"x13" |
|
| 5 | KitchenAid Beacon Two-Tone Non-Slip Mini Oven Mitt Set, Milkshake/Beige, 5.5"x8", 2 Piece |
|
| 6 | KITCHENAID Ribbed Soft Silicone Oven Mitt 2-Pack Set, 7.5"x13", Milkshake |
|
| 7 | Silicone Oven Mitts (2 PCS), Waterproof Non Slip Grip Oven Gloves with Thick Soft Cotton Lining, Universal Fit Heat Resistant Kitchen Gloves for Baking, BBQ, Cooking and Grilling - White |
|
| 8 | KEGOUU Oven Mitts and Pot Holders 6pcs Set, Kitchen Oven Glove High Heat Resistant 500 Degree Extra Long Oven Mitts and Potholder with Non-Slip Silicone Surface for Cooking (Grey) |
|
| 9 | GORILLA GRIP BPA-Free Soft Silicone Oven Mitts, 550F Heat Resistant Waterproof Cooking Safety Gloves, Thick Cotton Lining, Flexible Gripping for BBQ Grilling, Kitchen Potholders Set, 12.5x8.3, Black |
|
| 10 | BPA-Free Silicone Oven Mitts Ultra Heat Resistant up to 500°F - Oven Mitts with Thick Cotton Liner - Long Slip Resistant Pot Holders, Flexible Oven Gloves - Black 13.7" |
|
2. Repairing Seam Rips
Oven mitts often tear along seams due to repeated stress. This is usually one of the easiest repairs.
- Turn Inside Out (If Possible): If your oven mitt is designed to be reversible or has an accessible inner lining, turn it inside out. This makes it easier to work on the seam. If not, you’ll need to work from the outside.
- Align the Edges: Carefully align the torn edges of the seam. If there’s any loose insulation protruding, gently push it back inside.
- Pin Securely: Use pins or fabric clips to hold the seam edges together, mimicking the original seam line.
- Sew the Seam: Using 100% cotton thread, hand-stitch or machine-stitch along the original seam line. A simple running stitch or backstitch by hand, or a straight stitch on a machine, will usually suffice. For extra strength, you can double-stitch the seam.
3. Addressing Larger Holes or Burn Marks (Patching with Reinforcement)
For more significant damage where a larger area of fabric is missing or severely compromised.
- Cleanly Cut Out Damage: Use sharp scissors to trim away any stiff, burned, or badly torn fabric. Cut a neat square or rounded shape around the damage. This provides a clean area for your patch.
- Create Your Patch: Cut a new patch from 100% cotton fabric that is at least 1-2 inches larger than the hole on all sides. If the insulation underneath is also compromised (thin, burned), consider adding an extra layer of 100% cotton batting or a piece of another old, discarded oven mitt’s insulation to the underside of your patch for added protection.
- Position and Pin: Turn the edges of your cotton patch under by about 1/2 inch and press. Position the patch over the trimmed hole, ensuring it completely covers the opening and overlaps the intact fabric. Pin it firmly in place.
- Sew with Care: Using 100% cotton thread, carefully hand-stitch or machine-stitch the patch onto the oven mitt. Use a strong stitch, like a backstitch by hand or a zigzag stitch on a machine, going around the entire perimeter of the patch multiple times for maximum security. You can also stitch a few lines across the center of the patch for added reinforcement.
4. Giving New Life: The “Recover” Option (Advanced)
For oven mitts that are structurally sound inside but look worn and stained on the outside, you can recover them. This involves disassembling the outer layer, tracing it onto new fabric, and essentially creating a “new skin” for the mitt. This is a more involved sewing project but can completely revitalize a beloved mitt.
Safety Considerations After Repair
Even after a successful repair, it’s essential to verify your oven mitt’s safety.
- Inspect Insulation: Gently squeeze the repaired area. Does it feel as thick and protective as the rest of the mitt? If the insulation feels thin or lumpy, the heat protection might be compromised.
- Test with Caution: For the first use after repair, approach hot items with extra care. You might even double-up with another mitt if you’re unsure.
- When to Replace: If, after repair, you still feel heat transferring through the mitt too quickly, or if the repair feels weak or prone to tearing again, it’s time to retire the mitt and invest in a new, safe pair. Your safety is worth more than any sentimental attachment.
Tips for Extending Your Oven Mitt’s Life
Prevention is always better than cure. Here are a few ways to keep your oven mitts in top shape:
- Proper Cleaning: Wash your oven mitts regularly according to their care instructions to remove food stains and grease, which can degrade fabric over time.
- Avoid Direct Heat Elements: Never let your oven mitts rest directly on hot stove burners, heating elements, or oven racks. This is a common cause of irreparable burns.
- Rotate Usage: If you have multiple pairs, rotate them to distribute wear and tear.
- Store Properly: Hang your mitts or store them in a drawer away from heat sources.
Conclusion
Repairing a torn oven mitt is a rewarding endeavor that keeps a valuable kitchen tool in service. By understanding the types of damage, using the correct 100% cotton materials, and carefully following repair techniques, you can confidently mend your favorite mitt. Not only does this save you money and reduce waste, but it also allows you to continue creating culinary magic with a trusty companion by your side. Remember, safety comes first, so always ensure your repaired mitt provides adequate heat protection. What’s the most unusual item you’ve ever successfully mended and brought back to life?
Frequently Asked Questions
What kind of thread should I use to repair an oven mitt?
You should only use 100% cotton thread for repairing oven mitts. Synthetic threads like polyester or nylon can melt when exposed to the high temperatures of an oven, making your repair unsafe and potentially damaging the mitt further.
Can I use an iron-on patch to fix an oven mitt?
While iron-on patches can offer a quick fix, it’s highly recommended to stitch over them with 100% cotton thread. The adhesive on iron-on patches might not withstand oven temperatures, and stitching provides a more secure and heat-resistant repair, ensuring the patch stays in place and maintains the mitt’s integrity.
How do I know if my oven mitt is safe to use after repair?
After repairing, carefully inspect the mitt to ensure the patched area feels as thick and insulated as the rest of the mitt. If you feel any thin spots or notice heat transferring quickly when handling hot items, the insulation might be compromised, and it’s safest to replace the mitt.
Is it worth repairing an old oven mitt, or should I just buy a new one?
Repairing an oven mitt is worthwhile if the damage is minor (small tears, fraying seams) and the internal insulation is still intact and robust. It’s a cost-effective and sustainable choice. However, if the insulation is severely damaged or the mitt has large, unfixable holes, purchasing a new one is the safer option.