Picture this: you’re a passionate home cook, pulling a sizzling casserole from the oven with your trusted silicone mitts, when you notice an unwelcome guest – a blob of melted plastic clinging to the surface. It’s a common kitchen mishap that can leave you wondering if your favorite mitts are ruined forever. But don’t despair! With the right approach and a little patience, you can safely remove melted plastic from your silicone oven mitts and get them back in pristine condition.
Understanding the Problem: Why Plastic Melts on Silicone Mitts
Silicone oven mitts are prized for their excellent heat resistance, often handling temperatures up to 450-500°F (230-260°C). This makes them a reliable barrier against the intense heat of ovens and hot cookware. However, their heat-resistant nature doesn’t mean they’re impervious to all high-temperature scenarios. Plastic, on the other hand, has a much lower melting point. Accidental contact with a hot oven rack, a burner, or even steam from a freshly opened pot can cause plastic items—like food wrap, a container lid, or even a utensil—to soften and adhere to the silicone surface. The direct, prolonged contact with extreme heat combined with the low melting point of plastic creates this sticky, frustrating mess.
Safety First: Before You Start Cleaning
Before you tackle any melted plastic, safety must be your top priority. Ensure the silicone mitt has completely cooled down. Trying to remove hot plastic is not only dangerous but can also spread the mess further and potentially damage the mitt or burn your skin. Work in a well-ventilated area to dissipate any residual fumes, though generally, melted plastic on a cooled surface shouldn’t emit strong odors. Always wear protective gloves, especially if you plan to use any cleaning agents or sharp tools, to safeguard your hands from potential chemicals or accidental cuts. Avoid using harsh abrasive scrubbers like steel wool, as these can scratch, tear, or otherwise compromise the integrity of your silicone mitt.
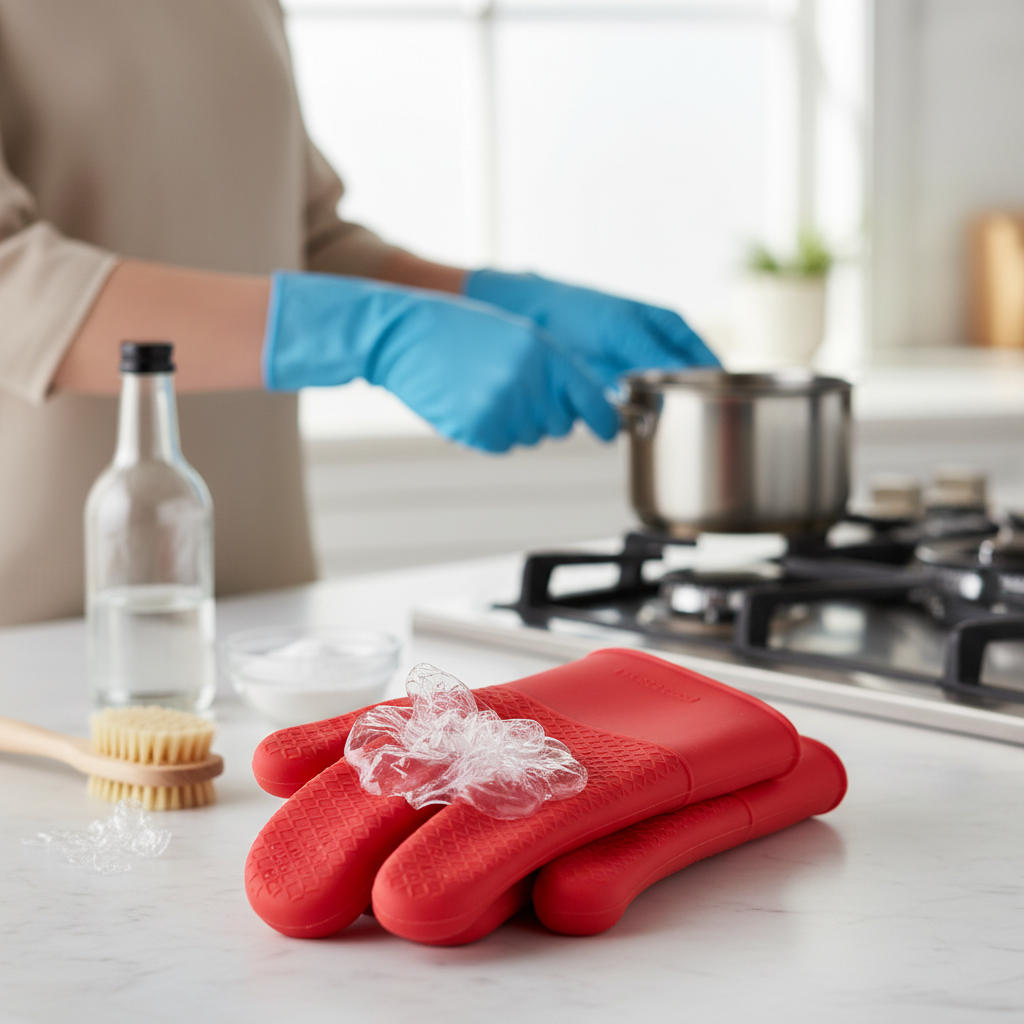
Essential Tools and Materials for the Cleanup
Having the right tools at hand will make the cleaning process much smoother and more effective. You won’t need an arsenal of heavy-duty chemicals; often, simple household items suffice. Gather a few dull scraping tools, such as a plastic scraper, an old credit card, or even a wooden spatula, which are less likely to damage the silicone. You’ll also need ice cubes or an ice pack, baking soda, a mild dish soap, and several soft cloths or sponges. For more stubborn residues, a Mr. Clean Magic Eraser (or a generic melamine sponge) can be helpful. Remember, avoiding anything overly sharp or abrasive is key to preserving your mitts.
Step-by-Step Cleaning Methods
Cleaning melted plastic from silicone mitts requires a gentle yet persistent approach. Start with the least invasive methods and progress if needed.
Method 1: The Cold Treatment (Freezing & Scraping)
|
Our Picks for the Best Oven mitts in 2026
As an Amazon Associate I earn from qualifying purchases.
|
||
| Num | Product | Action |
|---|---|---|
| 1 | GORILLA GRIP BPA-Free Soft Silicone Oven Mitts, 550F Heat Resistant Waterproof Cooking Safety Gloves, Thick Cotton Lining, Flexible Gripping for BBQ Grilling, Kitchen Potholders Set, 12.5x8.3, Black |

|
| 2 | Oven Mitts and Pan Racks 4-Piece Set, Extended Kitchen Oven Mitts and Pan Racks, Heat Resistant 500 °F, Silicone Non-Slip Surface for Baking and Cooking (Black) |
|
| 3 | Hovico Silicone Oven Mitts, Heat Resistant 500F Kitchen Mitts 2PCS, 11.6" BPA-Free Soft Baking Gloves, Non-Slip Grip Oven Gloves with Soft Cotton Lining for Kitchen Cooking Baking BBQ - Black |
|
| 4 | Silicone Oven Mitts (2 PCS), Waterproof Non Slip Grip Oven Gloves with Thick Soft Cotton Lining, Universal Fit Heat Resistant Kitchen Gloves for Baking, BBQ, Cooking and Grilling - White |
|
| 5 | KitchenAid Beacon Two-Tone Non-Slip Mini Oven Mitt Set, Milkshake/Beige, 5.5"x8", 2 Piece |
|
| 6 | KitchenAid Gingham Oven Mitt 2-Pack Set, Milkshake, 7"x13" |
|
| 7 | KITCHENAID Ribbed Soft Silicone Oven Mitt 2-Pack Set, 7.5"x13", Milkshake |
|
| 8 | BPA-Free Silicone Oven Mitts Ultra Heat Resistant up to 500°F - Oven Mitts with Thick Cotton Liner - Long Slip Resistant Pot Holders, Flexible Oven Gloves - Black 13.7" |
|
| 9 | Heat Resistant Gloves for Cooking Thickened Silicone Coating Cotton Liner Waterproof Food Grade Graffiti-Art Printing Medium |
|
| 10 | KEGOUU Oven Mitts and Pot Holders 6pcs Set, Kitchen Oven Glove High Heat Resistant 500 Degree Extra Long Oven Mitts and Potholder with Non-Slip Silicone Surface for Cooking (Grey) |
|
This is often the most effective first step, relying on temperature to make the plastic brittle.
- Harden the Plastic: Place the affected silicone mitt in your freezer for at least 30 minutes, or until the melted plastic has become hard and inflexible. For smaller spots, you can place a bag of ice directly over the plastic for 10-15 minutes. The cold causes the plastic to contract and become brittle, making it easier to remove.
- Gentle Scraping: Once the plastic is thoroughly hardened, carefully use a dull scraping tool (like a plastic scraper, an old credit card, or the edge of a wooden spatula) to gently pry and chip away the plastic. Work from the edges inwards, applying steady, light pressure. Avoid aggressive scraping that could gouge the silicone. The goal is to lift the brittle pieces of plastic rather than smear them.
- Repeat if Necessary: For larger or deeply embedded plastic, you might need to refreeze the mitt and repeat the scraping process a few times to get all the residue off.
Method 2: Gentle Scrubbing with Abrasives (Baking Soda Paste)
For any thin layers or persistent marks left after scraping, a mild abrasive paste can work wonders without damaging the silicone.
- Create a Paste: Mix a few tablespoons of baking soda with just enough water to form a thick paste. Baking soda is a natural, gentle abrasive that can help lift residue.
- Apply and Scrub: Spread the baking soda paste generously over the remaining plastic residue. Let it sit for 5-10 minutes to allow the paste to work.
- Gently Scrub: Using a soft cloth or sponge, gently scrub the affected area in small, circular motions. The abrasive action of the baking soda will help to break down and lift the plastic film.
- Rinse and Inspect: Rinse the mitt thoroughly under warm water and inspect the area. Repeat if a faint smudge remains.
Method 3: Targeted Solvent Application (with Extreme Caution)
While silicone is durable, it’s wise to be very cautious with solvents. For stubborn, thin films that resist mechanical removal, a very mild solvent can be considered, but always patch test in an inconspicuous area first.
- Isopropyl Alcohol (Rubbing Alcohol): For minor, non-greasy residues, a small amount of isopropyl alcohol (70% or 90%) on a soft cloth can sometimes help dissolve or loosen the last traces. Dab, don’t soak, and immediately wipe clean with a damp cloth after application. Rinse thoroughly.
- Mr. Clean Magic Eraser (Melamine Sponge): These sponges work by acting as a very fine abrasive. Dampen a Magic Eraser and gently rub the remaining plastic residue. It can be surprisingly effective at lifting thin layers without scratching the silicone.
“When dealing with kitchen mishaps like melted plastic, patience and a ‘less is more’ approach with cleaning agents are your best friends. Always prioritize the longevity and safety of your kitchen tools.” – Chef Elena Rodriguez, Culinary Arts Instructor
Method 4: The Heat Re-Softening Technique (Use with Extreme Care)
This method should be used as a last resort and with extreme caution, as it carries a risk of further damage if not executed precisely. The idea is to slightly re-soften the plastic just enough to lift it, not to melt it further into the silicone.
- Warm Water Immersion: Carefully dip the affected part of the silicone mitt into very warm (not boiling) water for a few seconds. The goal is to slightly soften the plastic, not to melt the silicone.
- Immediate Scraping: Immediately after warming, gently try to scrape off the softened plastic with a wooden or plastic scraper. The plastic should be pliable enough to lift without much effort. If it resists, do not force it.
- Avoid Direct Heat: Never use direct heat sources like a hairdryer or an open flame on your silicone mitts, as this can easily melt the silicone itself or make the plastic adhere more strongly.
Post-Cleaning Care for Your Silicone Mitts
Once you’ve successfully removed the melted plastic, your silicone mitts deserve a little TLC.
- Thorough Washing: Wash the mitts with warm water and mild dish soap to remove any remaining residue from the plastic or cleaning agents. Ensure they are completely clean, especially if you used any solvents.
- Air Drying: Allow your silicone mitts to air dry completely. Hanging them in a well-ventilated area helps prevent moisture buildup.
- Inspection: Before their next use, carefully inspect the mitts for any lingering plastic residue, discoloration, or damage to the silicone. Ensure the material’s integrity hasn’t been compromised, which could affect its heat-resistant properties. If you notice any tears, brittle spots, or significant damage, it’s safer to replace them.
Preventing Future Melted Messes
An ounce of prevention is worth a pound of cure, especially in the kitchen. Here are some tips to keep your silicone mitts pristine:
- Mindful Placement: Always ensure plastic items are clear of hot surfaces, oven racks, and active burners when cooking or baking.
- Prompt Cleanup: If a small amount of plastic melts onto a surface, clean it immediately (after cooling!) to prevent it from accidentally transferring to your mitts.
- Proper Storage: Store your silicone mitts in a designated spot away from heat sources and where they won’t come into contact with other kitchen items that could melt or damage them.
- Awareness: Be extra vigilant when handling items that might have plastic components, such as baking dishes with plastic handles or trays covered in plastic wrap.
“A well-organized kitchen and a keen eye are your best defenses against accidental melted plastic. It’s about developing habits that keep you and your tools safe.” – Maria Chen, Home Economics Specialist
Conclusion
Finding melted plastic on your silicone oven mitts can be frustrating, but it doesn’t have to be a permanent stain on your kitchen experience. By carefully employing methods like freezing and scraping, gentle abrasive pastes, or cautious solvent application, you can restore your mitts to their original, pristine condition. Remember to prioritize safety throughout the cleaning process and always perform a patch test when using new cleaning agents. With a little care and mindful kitchen practices, your silicone mitts will continue to be your reliable partners in the kitchen for many delicious meals to come.
What’s your go-to kitchen hack for unexpected cleaning challenges?
Frequently Asked Questions
Can melted plastic permanently damage silicone oven mitts?
While silicone is highly heat-resistant, prolonged or extremely high heat exposure with melted plastic can sometimes cause minor discoloration or slight textural changes. However, typically, the damage is superficial, and the plastic can be removed without compromising the mitt’s protective qualities if cleaned carefully.
Is it safe to use chemical solvents on food-grade silicone mitts?
Using harsh chemical solvents directly on food-grade silicone is generally not recommended as they can degrade the material or leave residues. Stick to mild options like isopropyl alcohol for targeted spot treatment and always perform a small patch test first. Thorough rinsing is crucial.
How can I remove the smell of melted plastic from my silicone mitts?
After removing the plastic, wash the mitts thoroughly with dish soap and warm water. For lingering odors, soak them in a solution of warm water and white vinegar (1:1 ratio) for 30 minutes, or sprinkle them with baking soda and let it sit before washing. Ensure they are fully air-dried.
Will scraping damage my silicone mitts?
Gentle scraping with a dull tool like a plastic scraper or a wooden spatula is unlikely to damage robust silicone mitts. Avoid sharp metal objects or aggressive scrubbing, which can scratch or tear the silicone surface. The goal is to lift the plastic, not to carve it off.
What should I do if the melted plastic won’t come off my mitts?
If after trying various methods, significant plastic residue remains, it might be safest to consider replacing the mitts. While a small, unobtrusive smudge might be acceptable, any large, sticky, or hardened plastic could compromise grip or hygiene.